DIY Photography: How to Set Up a Home Studio with Limited Space


Why Create a Home Studio?
In the age of digital photography, having a personal photography studio at home can be a game-changer. Whether you're a budding photographer or someone who enjoys capturing beautiful moments, a home studio offers convenience and privacy. Plus, with the right setup, you can achieve professional-quality images without the need for a large space or expensive equipment.
Creating a home studio might seem daunting, especially if you're working with limited space. However, with some creativity and strategic planning, it's entirely possible. Let's explore how you can transform a small corner of your home into a functional and inspiring photography studio.
Choosing the Right Space
Selecting the right space is crucial. Ideally, you want an area with ample natural light, as this will reduce your dependency on artificial lighting. A spare room, a garage, or even an unused corner of your living room can work well. Ensure there is enough clearance to set up backdrops and allow for some movement around your subject.
If natural light is scarce, don't worry. You can compensate with artificial lighting options such as softboxes or LED panels. These are affordable and offer consistent lighting conditions for your shoots.
Essential Equipment for a Small Studio
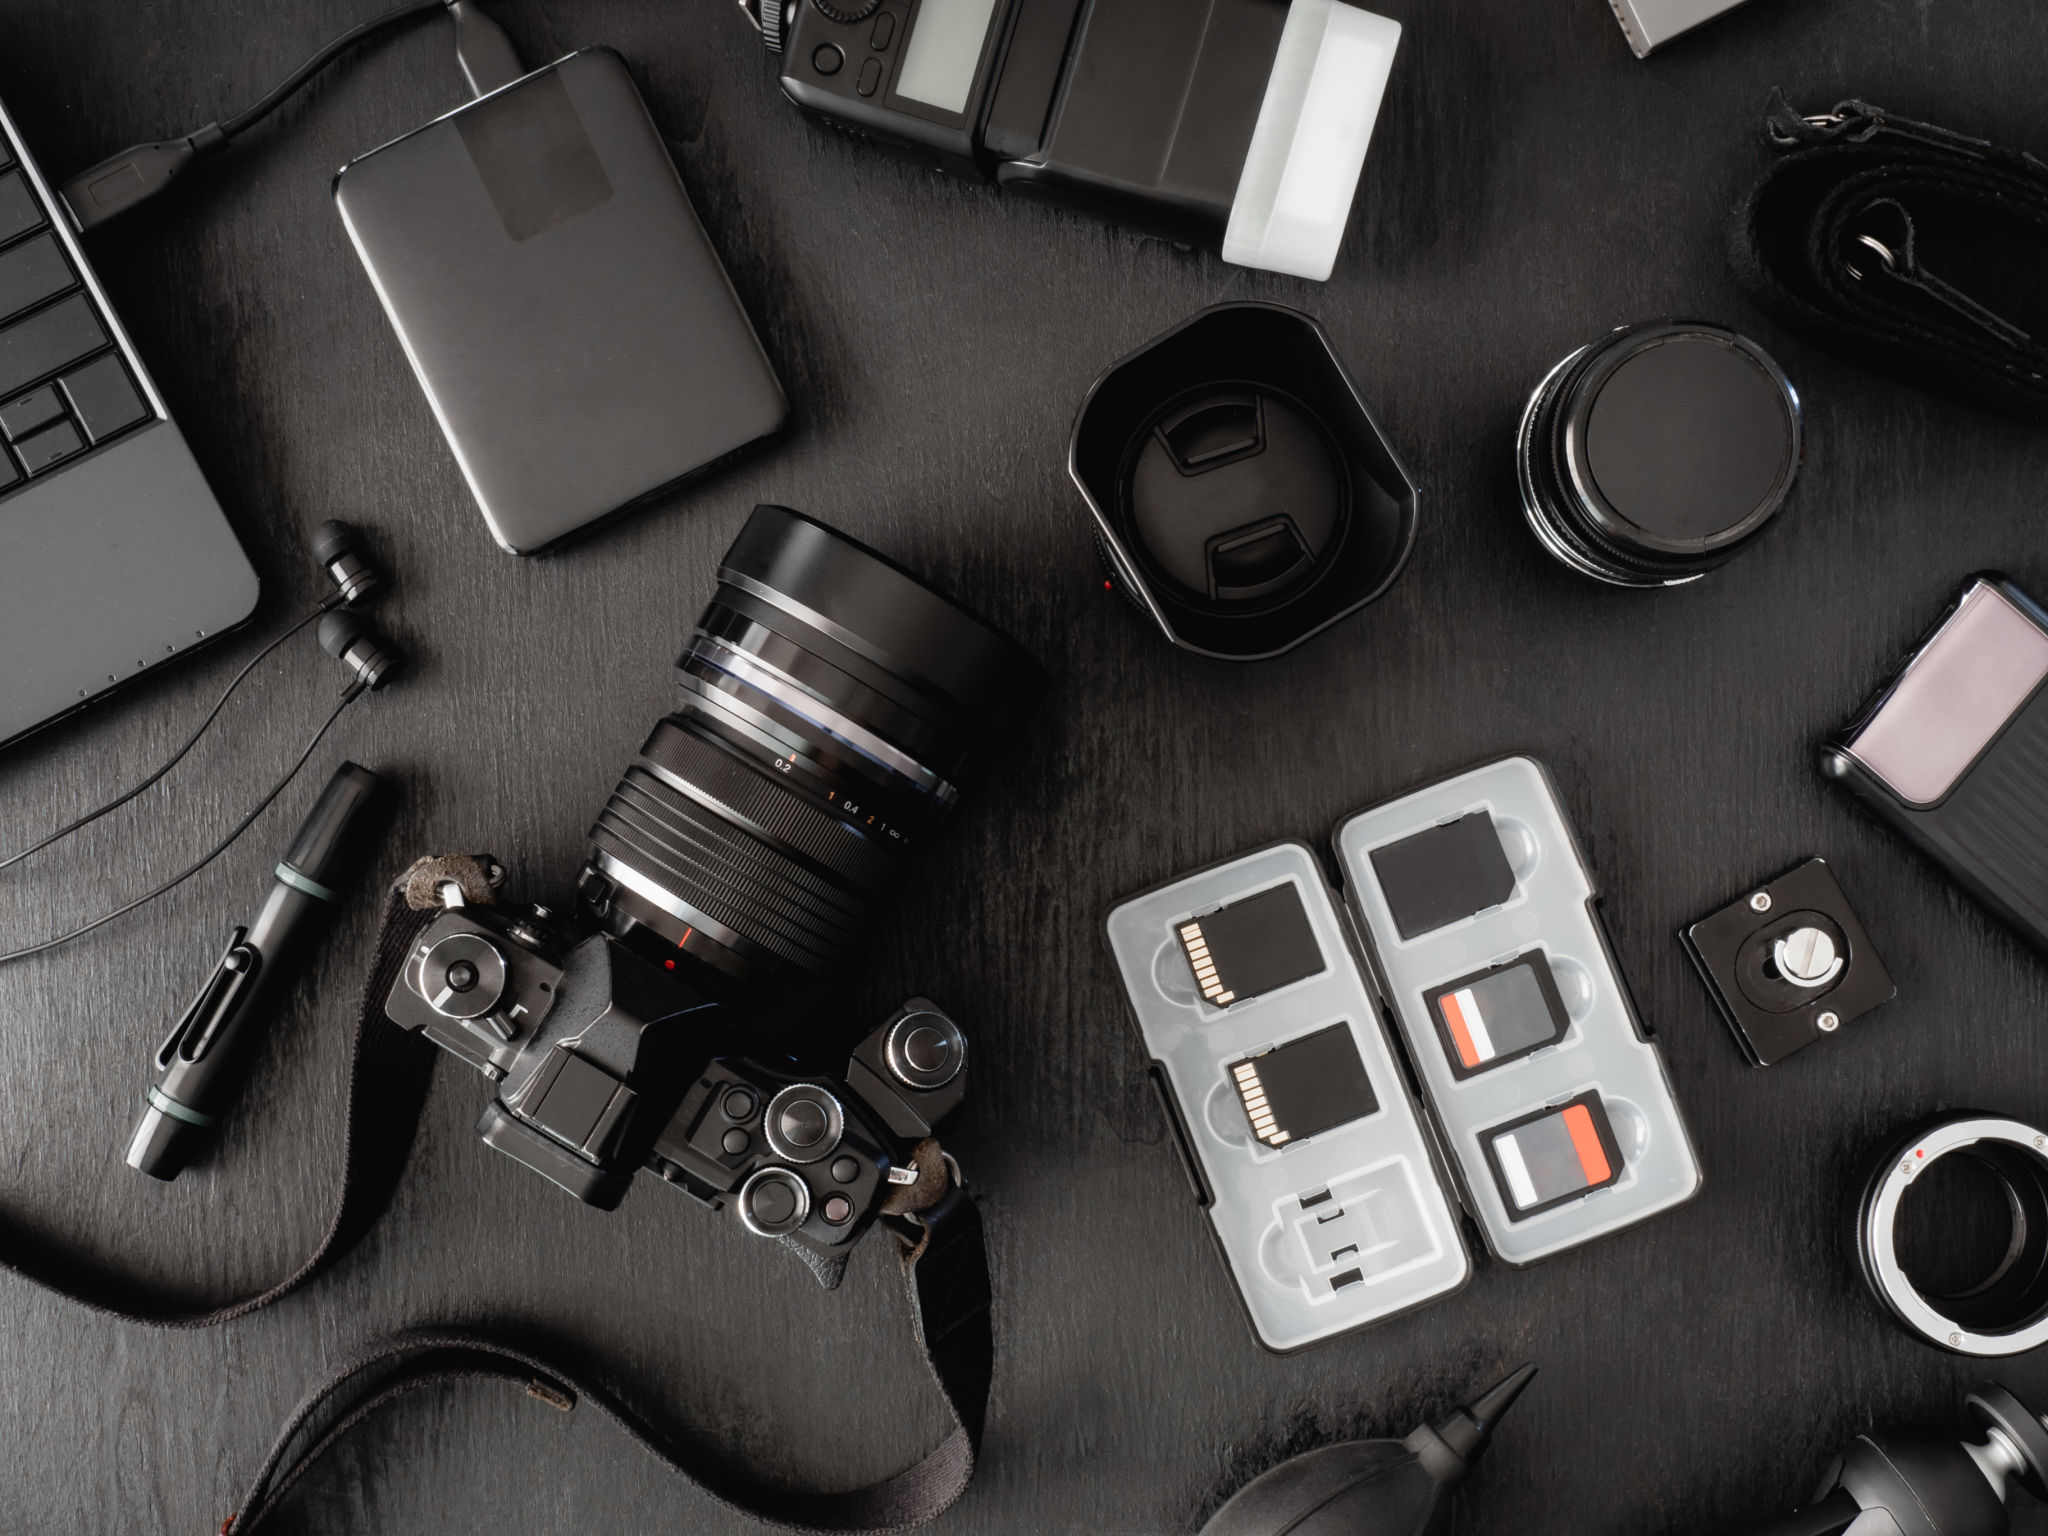
You don't need to break the bank to equip your home studio. Focus on acquiring some essential gear that will enhance your photography experience:
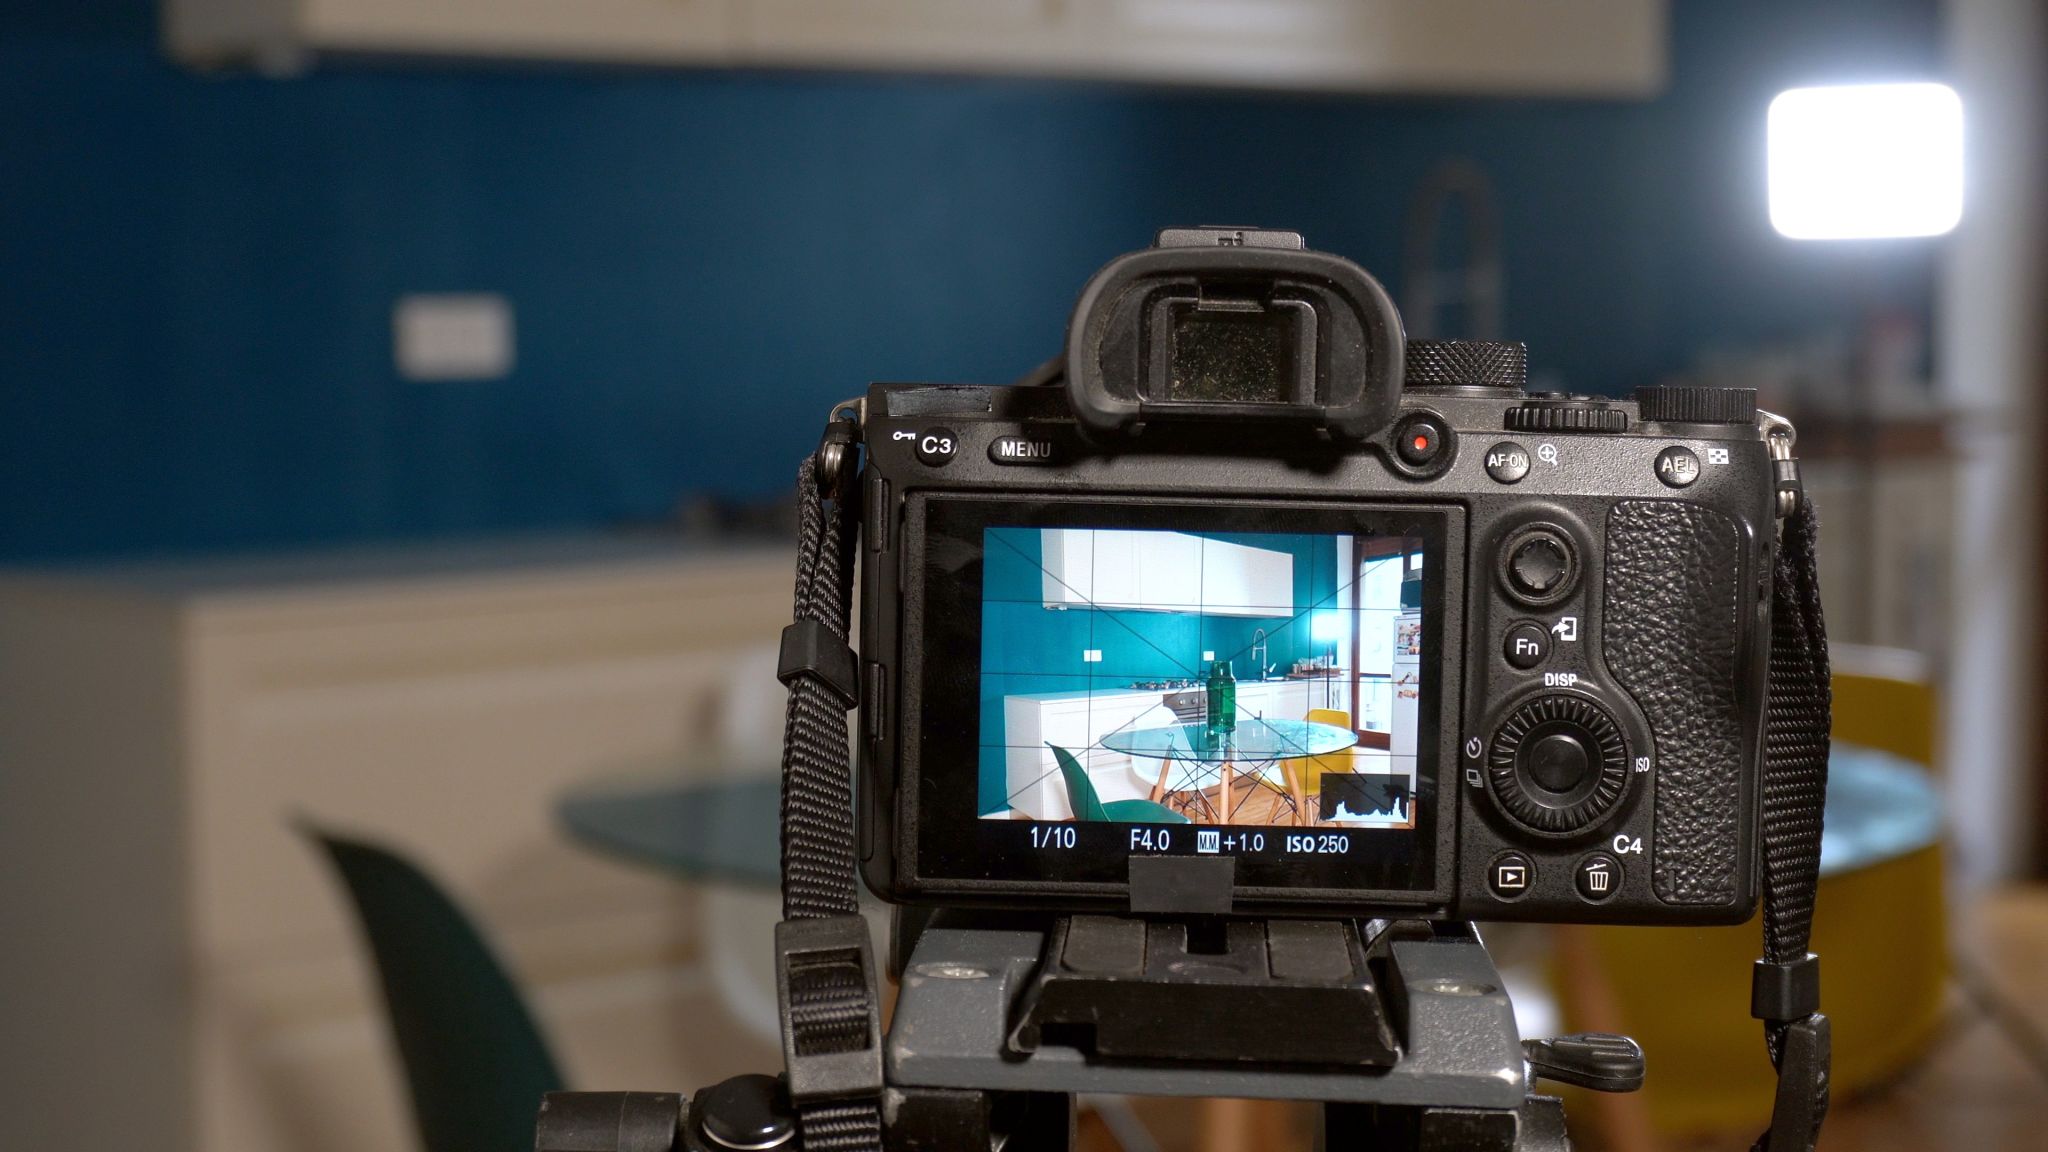
- Camera: A DSLR or mirrorless camera is ideal, but even advanced smartphones can produce great results.
- Tripod: A sturdy tripod is essential for stability and sharp images.
- Lighting: As mentioned earlier, softboxes or LED lights are great for controlled lighting.
- Backdrops: Invest in a few different backdrop options, such as plain colors or textured designs.
- Reflectors: These help bounce light onto your subject and are inexpensive yet effective tools.
Maximizing Your Space
When working with limited space, organization is key. Consider using collapsible or multi-functional furniture. For instance, a foldable table can serve as a surface for product photography and be tucked away when not in use. Wall-mounted storage solutions can keep your equipment organized and accessible without occupying floor space.
Also, think vertically. Utilize wall mounts or ceiling hooks to hang backdrops or lights. This approach not only saves space but also keeps your studio clutter-free and professional-looking.
Creative Backdrops and Props
Your backdrop sets the stage for your images, so choose wisely. In a small space, opt for versatile backdrops that can be easily swapped out or folded away. Paper rolls, fabric sheets, and even painted walls can serve as excellent backgrounds.
Incorporate props smartly to add depth and interest to your photos. Common household items like books, plants, or textiles can become effective props when used creatively. Remember, less is often more; focus on quality over quantity to maintain a clean aesthetic.

Troubleshooting Common Challenges
Every home studio comes with its own set of challenges. Limited natural light, cramped spaces, and noise distractions are common issues. To address lighting problems, experiment with different light angles and modifiers like diffusers to soften shadows.
If space is tight, practice shooting from different angles to find the most flattering perspective for your subject. Use noise-canceling materials like rugs or curtains to minimize ambient sound if you're doing video work alongside photography.
Staying Inspired
Finally, keep your creative juices flowing by regularly updating your setup and trying new techniques. Join online photography communities to share your work and gain insights from fellow photographers with similar space constraints. Inspiration can be found everywhere, so stay curious and keep experimenting.
With these tips in mind, you're all set to make the most of your limited space and create stunning images from the comfort of your own home!